Blog
How to weld Dam Liners
Here is a step-by-step procedure on how to weld dam liners together. Most of the dam liners are bought when they are just sheets. Therefore, to use them you have to join them together depending on the size of your dam or pond. The joining process is one of the very important stages and is done by qualified technicians. Aqua Hub have the qualified and certified technicians that will help answer the question of How to weld Dam Liners. The technicians use different dam liner welding machines for this process. Some may decide to use hot air welding machines and others may choose to use hot wedge welding machines.
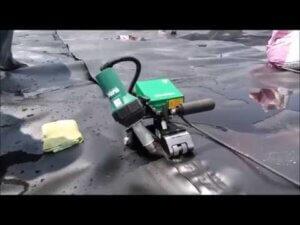
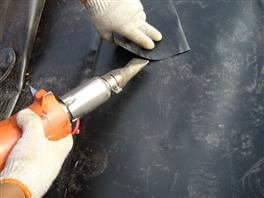
Hot air welding machine
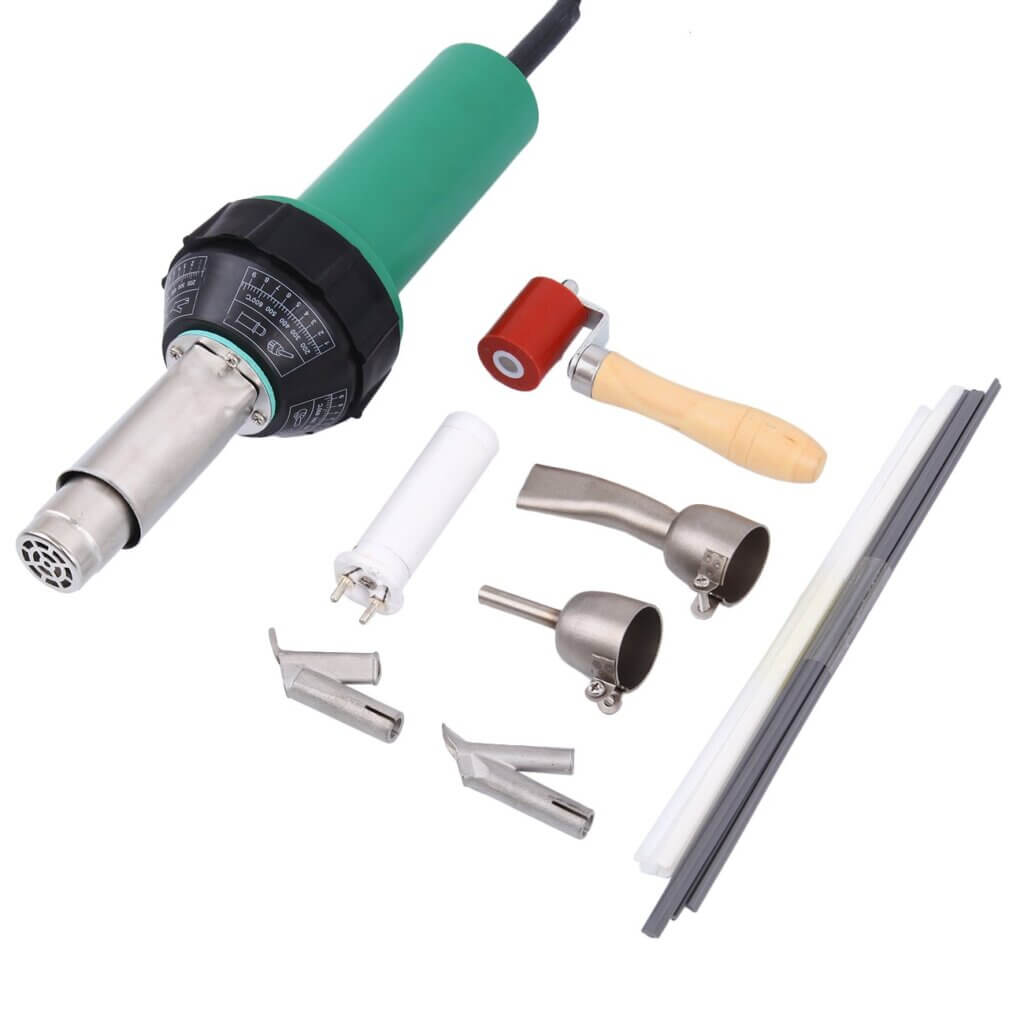
Hot air welding machines employ hot air to start melting the mating surfaces of the two materials being joined. It melts the mating surface of the two dam liners of the liners in our case. Pressure supplied by a roller system — or manually in some circumstances — mixes with heat to generate an incredibly strong connection.
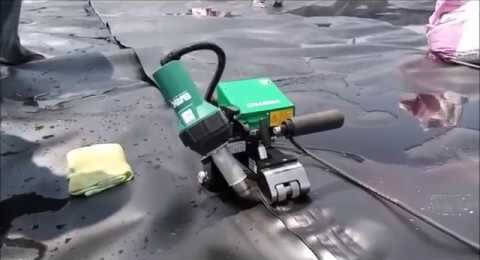
Hot wedge welding machine
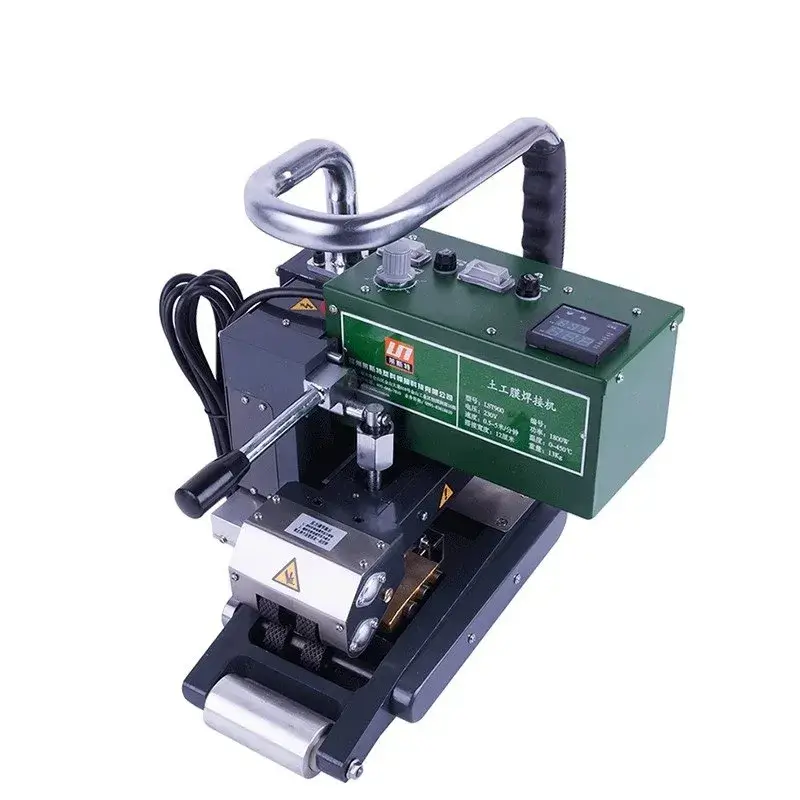
Hot wedge welding machines are devices that operate between two sheets of material that overlap. The hot wedge welding, also known as bar welding, use a heated metal wedge to generate the heat necessary to melt thermoplastics. As two sheets of cloth or film are dragged over the hot wedge, the wedge is precisely positioned at the weld site.
How to weld Dam Liners
Aqua Hub technicians use the equipment above to connect dam liners. Let’s have a look at the step-by-step guide on How to Weld Dam Liners. The following are the 5 steps on How to Weld Dam Liners.
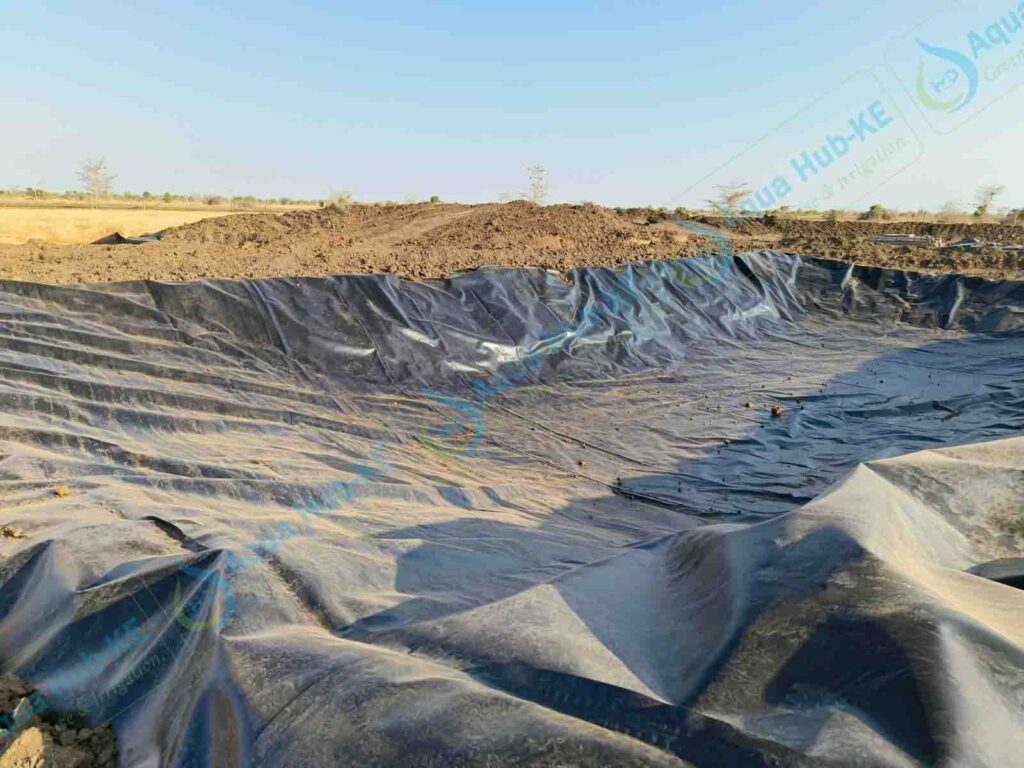
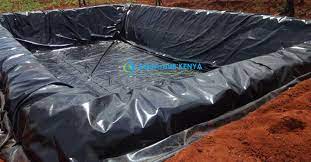
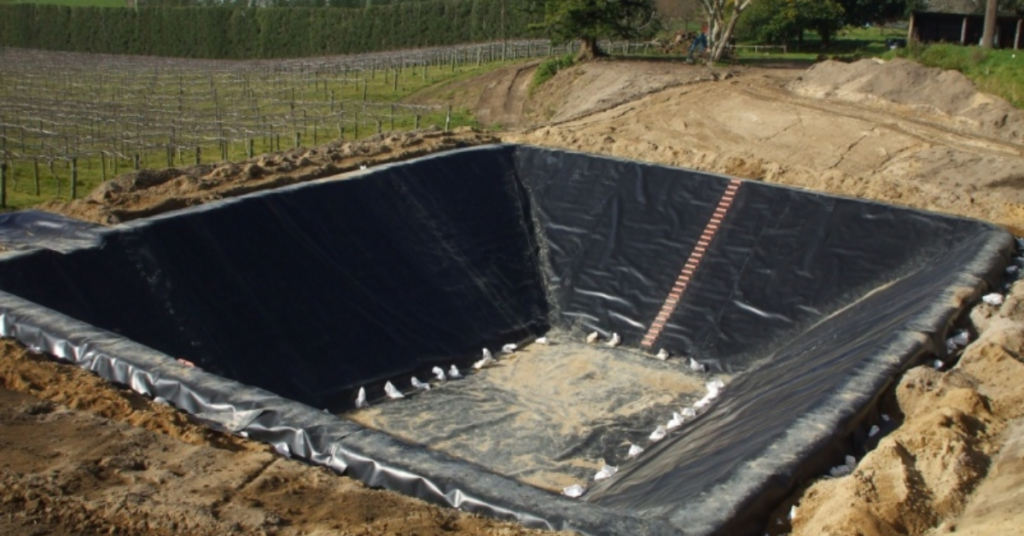
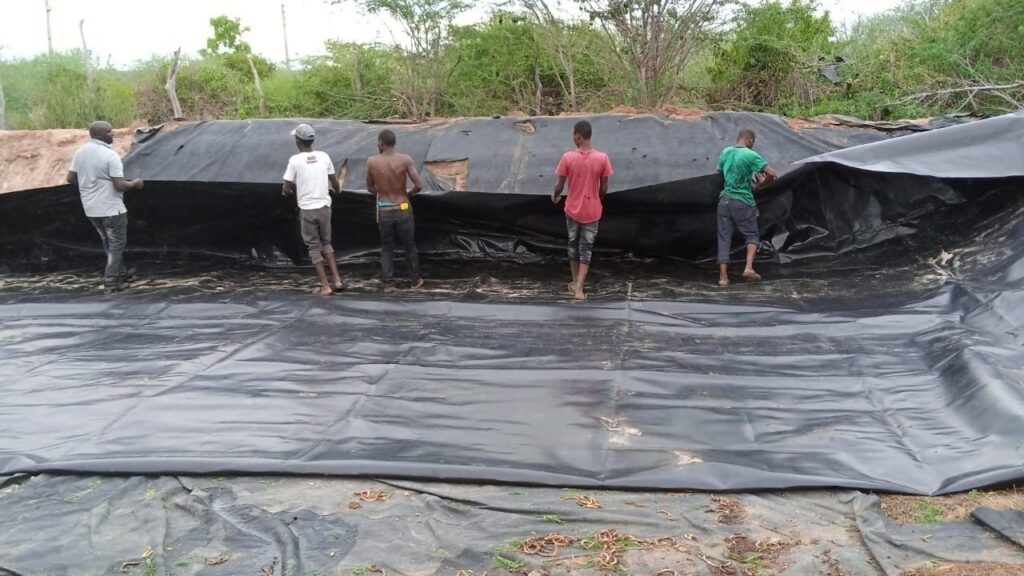
Step 1: Place the two dam liners on a level surface.
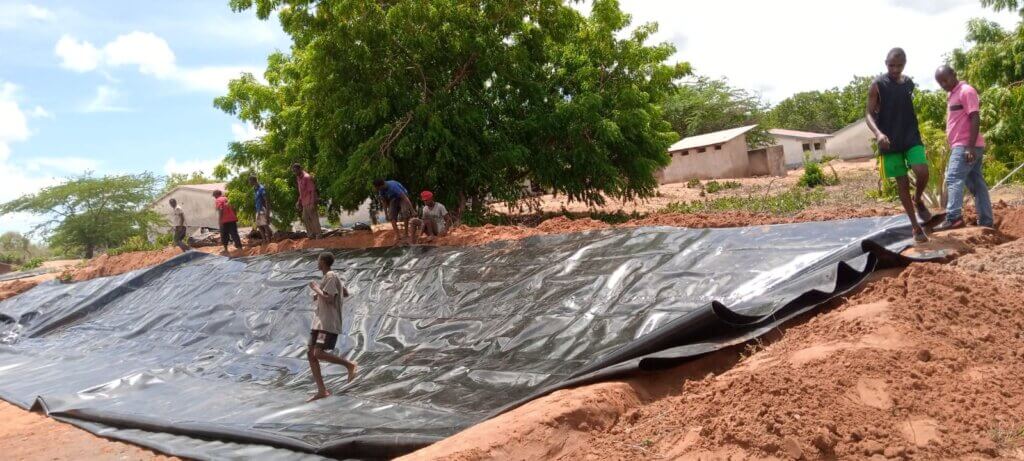
The two dam liners should be laid down flat. You might be need to place wood or another flat material below the dam liners if the surface is not flat.
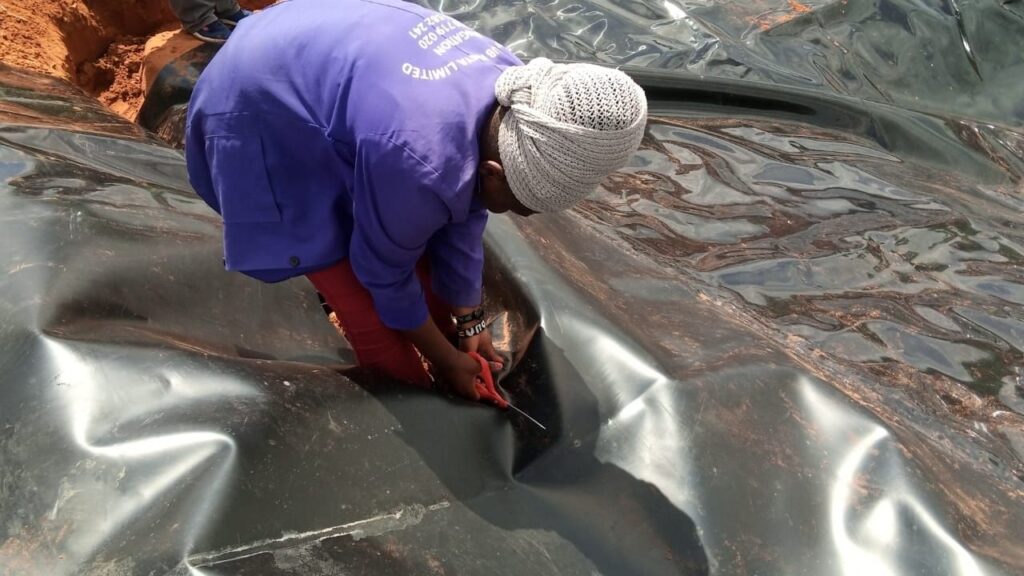
Step 2: Make the two dam liners to overlap 4-6 inches apart in a straight path.
Place the two dam liners 4-6 inches away from one another. Where you’ll attach the two sections, they should overlap by 4 to 6 inches. The overlap will guarantee you have enough room for welding.
You need to ensure a straight line of overlap between the dam liners. The dam liners must parallel overlap one another. This will guarantee that the linking of every joint is tight.
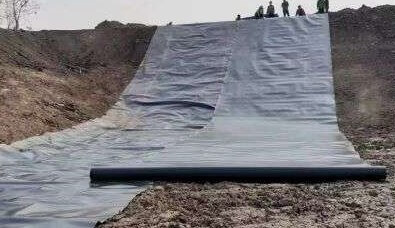
Step 3: Execute the actual welding.
Carry out the welding directly. It is now time to fuse the two dam liners together considering you have set everything. The hot air welding device can be applicable for this.
Alternatively, use the hot wedge welding machine
As an alternative, you may also use a hot wedge welding equipment to complete the welding. In addition to employing the first tool, you may also use a hot wedge welding machine. This is the quickest way to connect two dam liners.
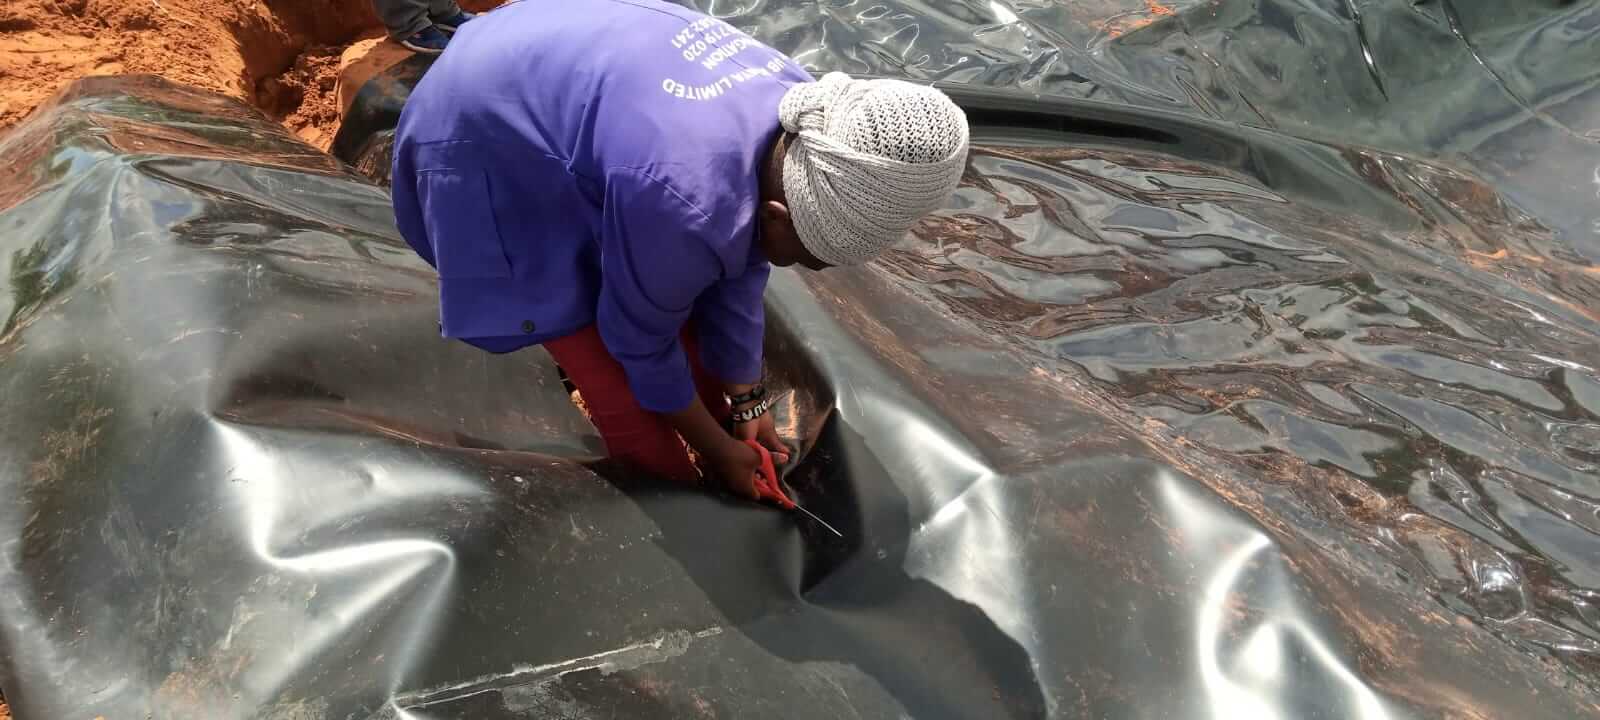
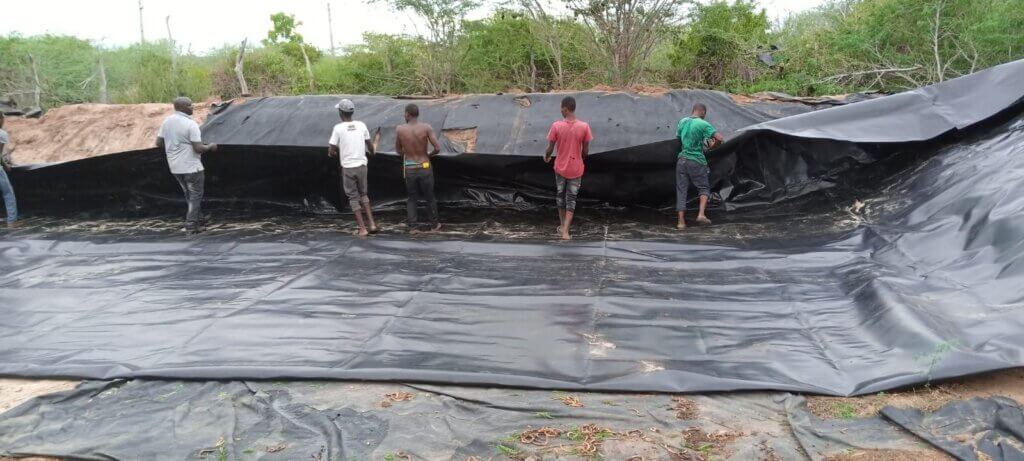
Step 4: Verify whether any holes require further sealing.

Confirm whether any holes require further sealing. After welding the dam liner, carefully inspect it to see if there are any holes. If there are any holes that need to be covered, seal them up. Finally, put in your fishpond or dam liner.
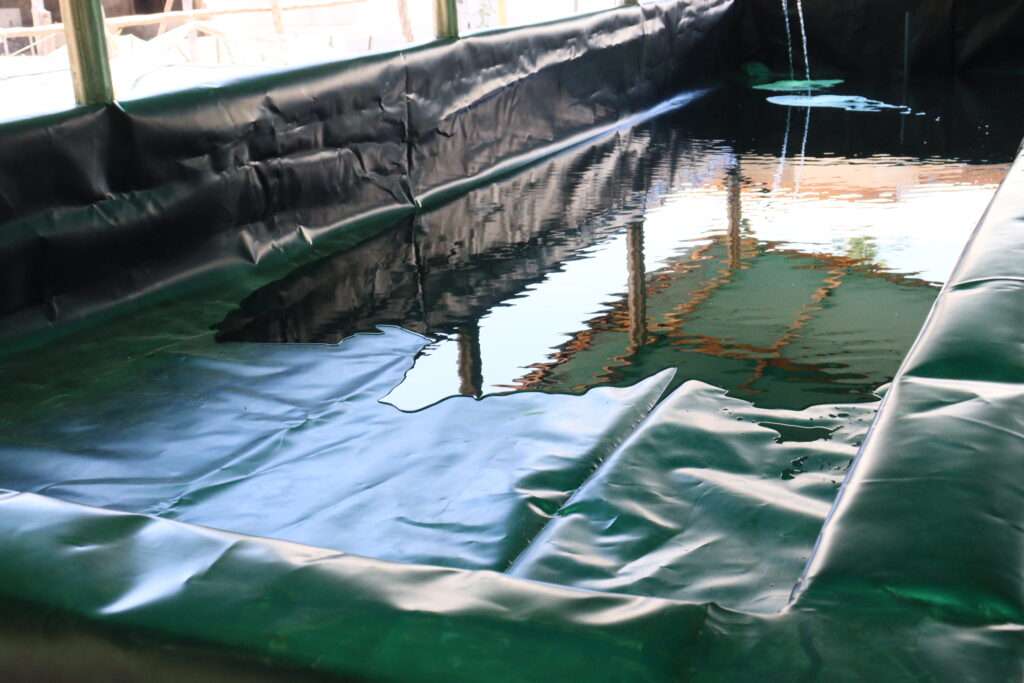
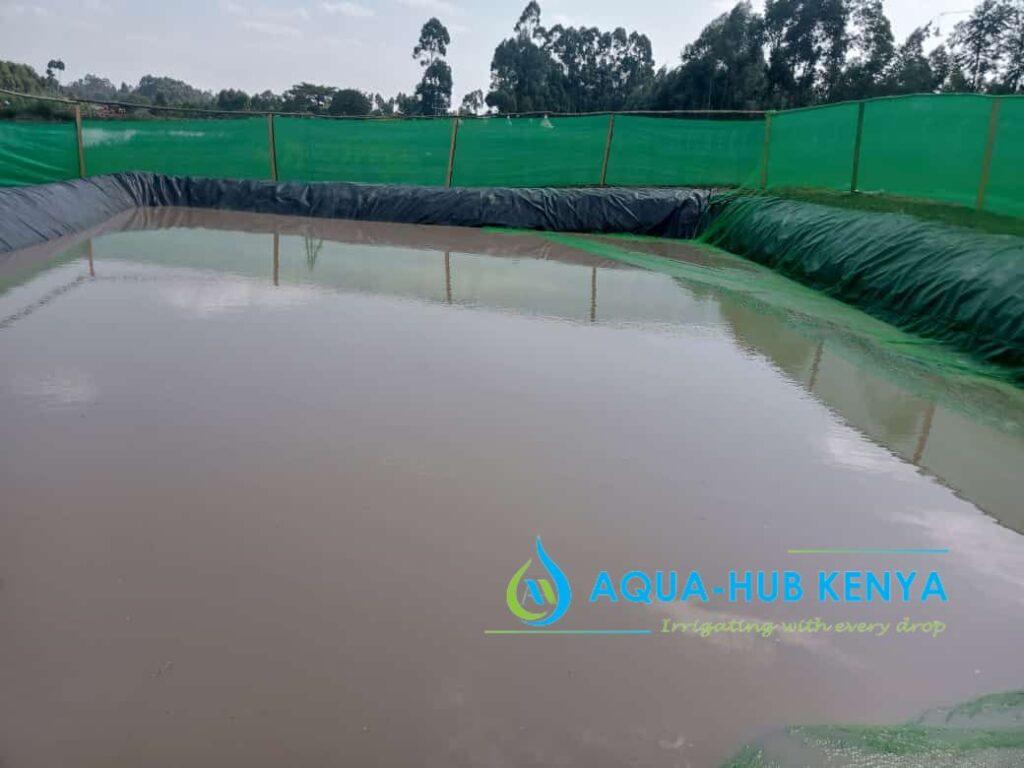
Step 5: Install the dam liner and fill in water

Fill the dam liner or fish pond liner with water after the installation is complete.
This can be achieved by runoff or by pumping water from a well, borehole, rainwater collection system, or river.
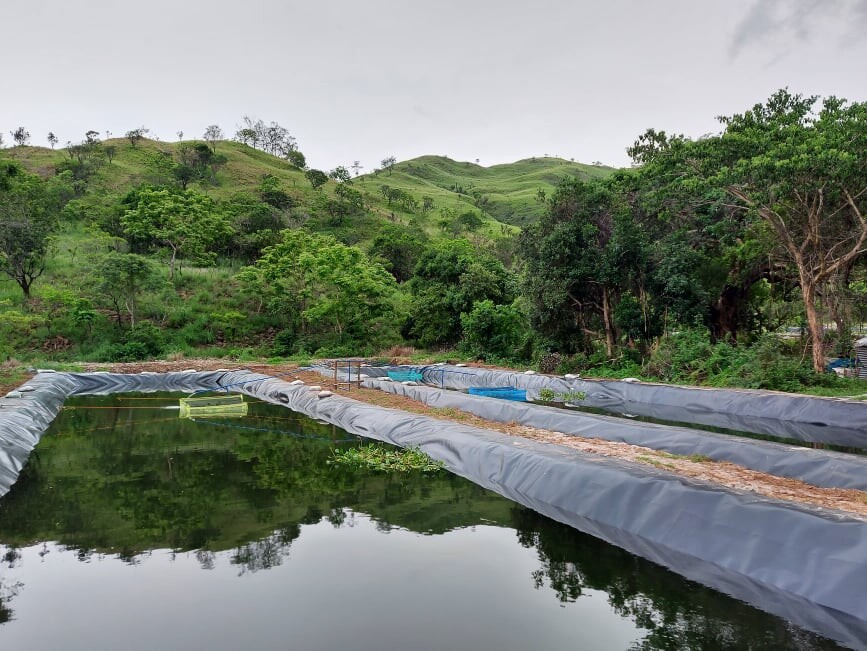
The best dam liners are available at Aqua Hub Kenya. We also provide very affordable installation of dam liners. We have a group of expert technicians for the job. Please call us at NAIROBI: 0790719020 or ELDORET: Get Quote if you need dam liner services.